
How to print a GEDCOM family tree
Learn how to print a GEDCOM family tree as a readable PDF, choose your starting person and layout, protect living relatives and assemble tiled pages.
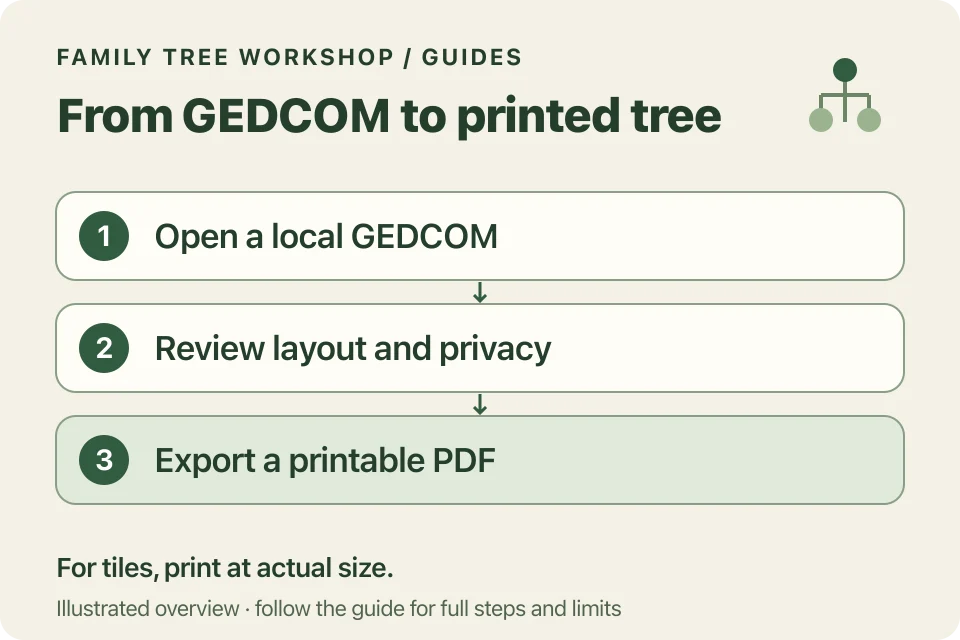
To print a GEDCOM family tree, open a local file in the GEDCOM to PDF converter, choose a starting person and export a printable tree. Your genealogy is processed in your browser.
Start with a copy of your research
Export a plain UTF-8 GEDCOM from your genealogy software. Keep your original research database and any linked documents. A GEDCOM is a data exchange format; a chart PDF presents selected information and does not replace your research records.
The converter reads the main person, family and event details in GEDCOM 5.5.1 and 7 files. You can also open supported ZIP/GEDZIP archives, within the file-size limits. Notes, citations, photographs and custom fields are not fully included in the output, and photos or documents inside an archive are not opened. The official FamilySearch GEDCOM specifications describe the formats. Unsupported encodings need re-exporting as UTF-8.
Choose who to start with
An ancestor tree looks back from a starting person. A descendant tree follows their recorded children and later generations. Start with a few generations so that you can check relationships before adding more.
Choose a vertical or horizontal box tree, or an ancestor fan chart. Unknown parents remain unknown. Repeated ancestors refer to the same person. Where more than one parent family is recorded, review the choices before using a fan chart or Ahnentafel report.
Check privacy before sharing
Keep Hide living details enabled while reviewing a chart you intend to share. Details are hidden for anyone who may still be living. You can change a person’s status in their details if needed. Relationships and record IDs remain visible, so masking is not complete anonymisation.
Review the output yourself before sharing. A saved project contains the original unmasked GEDCOM, even when the displayed tree is masked. Use the printable PDF for the selected presentation and keep the project private.
Keep printed text readable
A large family tree may be difficult to read when reduced to one sheet. The converter switches to tiles when a single-sheet export would shrink the main text below 11.5 pt or the smaller labels below 8 pt. Compact sizing reduces the number of sheets while keeping those minimums. Larger text and boxes are also available.
For tiled output, print at 100% or actual size. Cut along the crop marks, discard the outside strips, line up the adjoining cut edges and tape the backs together. The trim bleed repeats a little of the chart around each edge to allow for small cutting errors; that extra strip is cut away. Check the first sheets before printing the full set.
Keep your working copy
Choose Save project to download your original GEDCOM and the settings you’ve chosen. Nothing is saved automatically. Navigating away, clearing the workspace or closing the tab discards unsaved changes. After the converter and its PDF font have loaded, importing and exporting can continue in that tab offline; reloading offline is not supported yet.
Open the GEDCOM converter when you are ready to try it.