
How to export a GEDCOM file from MyHeritage
Official help checked . Menus can change. These instructions are based on official help, not a tested account export.
Download a GEDCOM from your MyHeritage family site, choose the right steps for the website or Family Tree Builder and understand what photo links preserve.
To export a GEDCOM file from MyHeritage’s website, open Family tree → Manage Trees, find your tree and choose Export to GEDCOM. Review the options and start the export. Family Tree Builder, its desktop program, uses a different route.
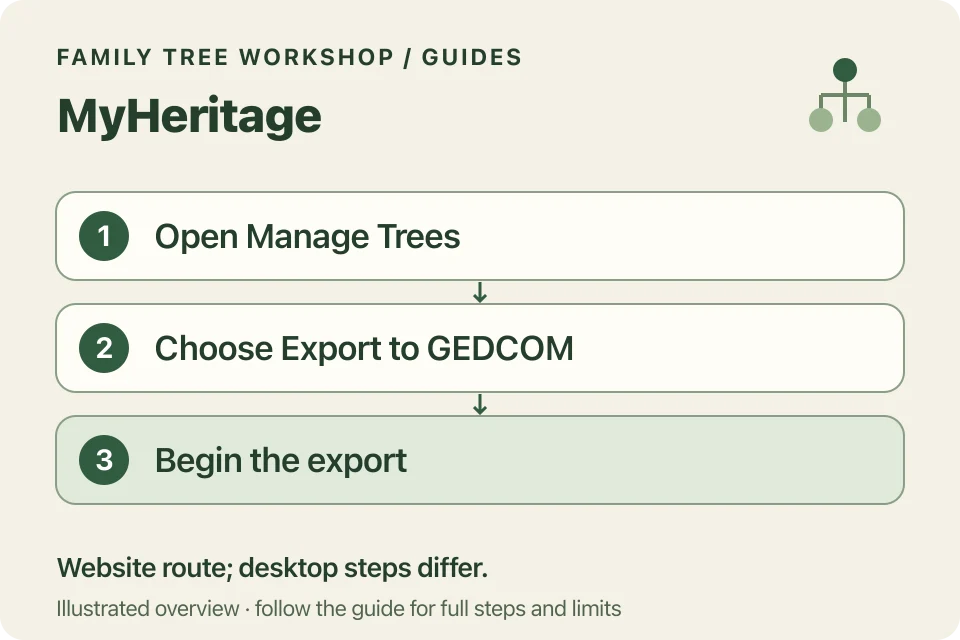
Export from your MyHeritage family site
- Sign in to the family site containing the tree.
- Open Family tree, then Manage Trees.
- Locate the correct tree and choose Export to GEDCOM beside it.
- Review the photo option, then choose Begin the export.
- Save the file in a folder you can find again.
If there are several trees, check the name before exporting. Keep the original download rather than replacing it with a chart PDF.
Are you using Family Tree Builder instead?
The installed program uses File → Export GEDCOM, followed by a wizard. Choose a local destination, review the data language where relevant and select the entire tree or selected people. Follow the separate support article below for its complete sequence.
A desktop menu path will not match the website in your browser. Use the instructions for the version that holds your latest research.
Does including photos embed actual images?
MyHeritage explains that GEDCOM is text: it can preserve links to photos, not the photo files themselves. The website’s photo option does not mean that the .ged contains every original photograph.
Family Tree Workshop does not fetch those links. Keep any separate media backup and original research alongside the export.
What should you check before printing?
Check the intended people and branches, particularly after using the desktop wizard’s selected-people option. Start with a few generations. If accented names display incorrectly, try a new export in UTF-8, which supports accented characters.
The printing guide explains layouts, privacy and tiled pages. Saved projects retain original genealogy, so keep them private even if the chart is masked.